


Calories: 306
Easy
4 people
A very simple and delicious recipe, I encourage you to try it. We'll delight both kids and adults alike. Now we'll have no excuse not to use stale bread. It will also work with muffins, cakes, or any sweet you have at home.
Ingredients for Homemade Bread Pudding for 4 people
- 4 eggs
- 1 tablespoon of sugar per egg
- 500 grams of whole milk
- Half a loaf of day-old bread
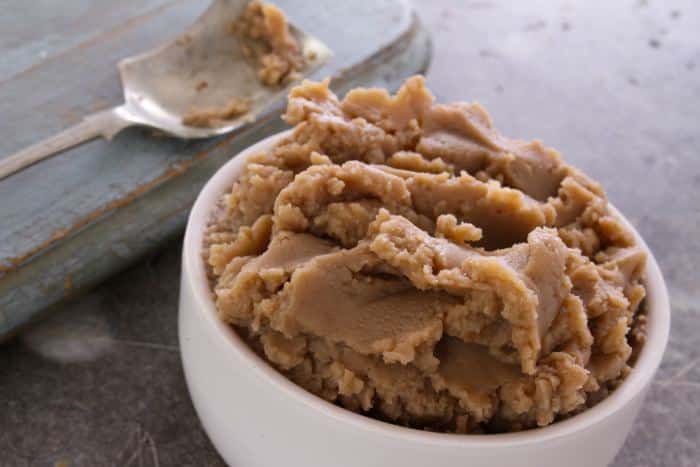
- Liquid caramel
- Zest of a lemon or orange
- A pinch of cinnamon
How to make the recipe Homemade Bread Pudding
- Warm the milk in a saucepan over low heat. Add the sugar, lemon or orange zest, and remove from the heat as soon as it begins to boil.
- Slice the bread and add it to the milk. Allow it to soak well.
- Meanwhile, preheat the oven to 428ºf. In the oven tray (deep), add water to boil. Take a flan mold or a rectangular one and pour in the liquid caramel (about a finger's thickness). You can see the liquid caramel recipe I provided for the coconut flan.
- With an electric mixer, blend the milk to dissolve the bread, making our pudding finer. Gradually add the four eggs and mix everything well. Slowly pour into the caramelized mold and sprinkle the cinnamon on top.
- Place the mold over the water and bake at 356ºF for 45 minutes. After this time, test with a toothpick, and if it comes out clean, it's ready. It will brown on top but if it's excessive, you can cover it halfway through cooking with aluminum foil.
- Let it cool and refrigerate for at least 5 hours. Run a round-tipped knife around the mold, take a dish with some depth, place it on top, and carefully flip the mold over.
Notes and Tips
Presentation for a treat day or festive day: A slice of pudding, whipped cream around, and a scoop of ice cream (to taste).
If you like vanilla, you can add a vanilla pod when boiling the milk and then remove it. Enjoy!
Latest posts by Cocina Casera English (see all)
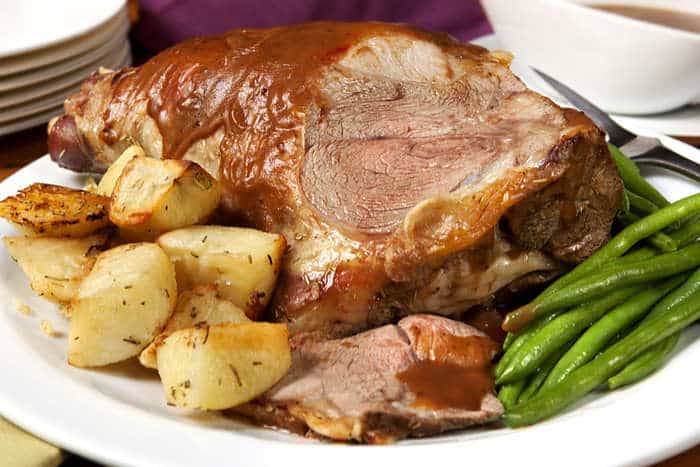
- Roast Lamb Leg - 02/08/2023
- Pilaf Rice - 01/08/2023
- Fruit Salad in Syrup - 01/08/2023